16 min read
Next.js 13 for static export sites: is it ready for production?
This article examines Next.js 13 readiness for production by considering the example of a personal static exported site with an MDX blog.
Next.js 13 has been released and marked as stable, making it an opportune time to build or migrate sites to this new version in order to leverage its benefits. But the question always arises: should we start migrating our blogs or sites to the new version?
Our experience tells us “NO” and sometimes it feels like it’s always a good strategy to give new versions a chance to prove their maturity before using them in production.
Let’s explore the potential challenges you may encounter when migrating an existing website or creating a new static website using Next.js 13.
Note: All the examples and issues described below pertain specifically to the
output: 'export'feature of Next.js.
Open Graph image generation for static export
Next.js offers a nice feature to generate images on the fly, such as generating previews for blog posts. While it is possible to achieve this with Next.js 13, the documentation for generating these images for static export is not very comprehensive. As a result, it may take some time and effort to understand the process of generating such images specifically for static export.
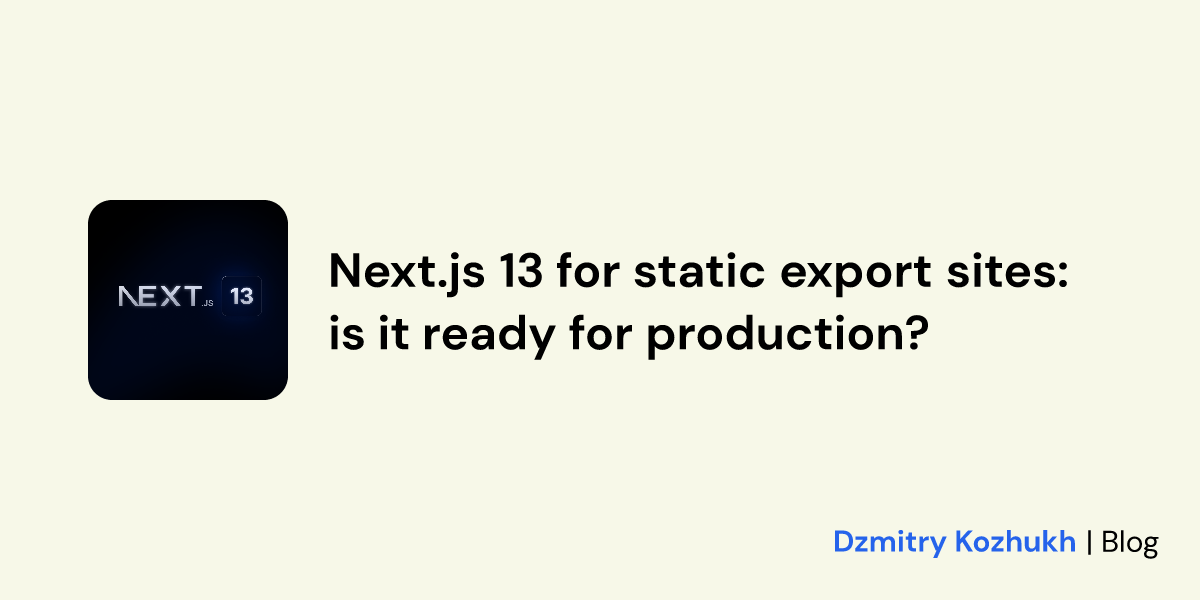
Let’s consider an example of generating an Open Graph (OG) image for static export that was used for this blog post.
// app/blog/[slug]/og.png/route.tsx

import { allPosts } from 'contentlayer/generated';
import { ImageResponse, NextRequest } from 'next/server';
import fs from 'fs';
import path from 'path';

// using default nodejs runtime instead of edge that can't be used for static export
// also nodejs runtime allows us to use nodejs instrumentation to get fonts and images via fs
// export const runtime = 'edge';

// we use generateStaticParams for it to be placed into out folder
export const generateStaticParams = async () =>
  allPosts.map((post) => ({ slug: post._raw.flattenedPath }));


export async function GET(
  req: NextRequest,
  params: { params: { slug: string } },
) {
  const post = allPosts.find(
    (post) => post._raw.flattenedPath === params.params.slug,
  );

  const DmSansBold = fs.readFileSync(path.resolve('./fonts/DMSans-Bold.ttf'));
  const DmSansReqular = fs.readFileSync(
    path.resolve('./fonts/DMSans-Regular.ttf'),
  );

  const postCover = fs.readFileSync(
    path.resolve(post?.cover.filePath.replace('../public', './public') || ''),
  );

  return new ImageResponse(
    (
      <div
        tw="w-full h-full flex items-center justify-center relative px-32"
        style={{ background: '#f7f8e8', fontFamily: 'DM Sans Regular' }}
      >
        <div tw="w-[200px] h-[200px] flex rounded-3xl overflow-hidden bg-blue-500">
          {/*@ts-ignore*/}
          <img src={postCover.buffer} />
        </div>

        <div tw="pl-10 shrink flex">
          <div tw="text-5xl" style={{ fontFamily: 'DM Sans Bold' }}>
            {post?.title}
          </div>
        </div>
        <div tw="absolute right-10 bottom-10 flex items-center">
          <div
            tw="text-3xl text-blue-600"
            style={{ fontFamily: 'DM Sans Bold' }}
          >
            Dzmitry Kozhukh
          </div>
          <div tw="text-3xl px-3">|</div>
          <div tw="text-3xl">Blog</div>
        </div>
      </div>
    ),
    {
      width: 1200,
      height: 600,
      fonts: [
        {
          name: 'DM Sans Bold',
          data: DmSansBold.buffer,
          style: 'normal',
        },
        {
          name: 'DM Sans Regular',
          data: DmSansReqular.buffer,
          style: 'normal',
        },
      ],
    },
  );
}
Click here to check the result generated for this blog post or add /og.png to the current blog post url.
Conclusion: While generating images for static export is technically achievable in Next.js 13, it can be challenging for beginners due to the lack of comprehensive documentation. Additionally, error messages in the console may not provide clear guidance when something goes wrong, often resulting in a generic 404 page.
AMP support
At the time of writing this, there is no documentation available specifically addressing AMP (Accelerated Mobile Pages) support for Next.js 13 in the app router section.
Let’s explore the steps we can take to add AMP support into our static website.
Firstly, I attempted to split my site into two parts ((site) and (amp) folders) to have a different layout.tsx in order to achieve <path_to_blog_post>/amp and have needed AMP attrubutes for root tags. However, this approach encountered a variety of unexpected errors during the HTML generation process, and the resulting output failed to pass the AMP validator.
Then it was decided to go with the similar solution that was used for generating OG image.
// app/blog/[slug]/amp.html/route.tsx
import { allPosts } from 'contentlayer/generated';
import { NextRequest } from 'next/server';
import { notFound } from 'next/navigation';
//@ts-ignore
import Amperize from 'amperize';
import { getMDXComponent } from 'next-contentlayer/hooks';
import { getArticleSchema } from 'structuredData';
import sanitizeHtml from 'sanitize-html';
import { format, parseISO } from 'date-fns';
import { MDXComponents } from 'components/mdx-components';

const allowedAMPTags = [
  'html',
  'body',
  'article',
  'section',
  'nav',
  'aside',
  'h1',
  'h2',
  'h3',
  'h4',
  'h5',
  'h6',
  'header',
  'footer',
  'address',
  'p',
  //... and other tags (used for sanitize-html)
];

const allowedAMPAttributes = {
  '*': [
    'itemid',
    'itemprop',
    'itemref',
    'amp-access',
    'amp-access-*',
    'i-amp-access-id',
    'data-*',
    'style'
  ],
  //... and other tags (used for sanitize-html)
};

const convertHtmlToAmp = (htmlStr: string) =>
  new Promise<string>((resolve, reject) => {

    new Amperize().parse(htmlStr, (err: any, result: string) => {
      if (err) {
        return reject(new Error(err));
      }
      resolve(result);
    });
  });

export const generateStaticParams = async () =>
  allPosts.map((post) => ({ slug: post._raw.flattenedPath }));

export async function GET(
  req: NextRequest,
  params: { params: { slug: string } },
) {
  const { slug } = params.params;
  const post = allPosts.find((post) => post._raw.flattenedPath === slug);
  const { renderToString } = (await import('react-dom/server')).default;

  if (!post) {
    return notFound();
  }

  // using contentlayer getMDXComponent function to get React Component from MDX
  const MDXContent = getMDXComponent(post.body.code);

  // rendering React component to html string
  const contentHtml = renderToString(<MDXContent components={MDXComponents} />);

  // using Amperize for converting html to AMP html
  const ampHtml = await convertHtmlToAmp(contentHtml);

  // cleaning html
  const cleanHtml = sanitizeHtml(ampHtml, {
    allowedTags: allowedAMPTags,
    allowedAttributes: allowedAMPAttributes,
    selfClosing: ['source', 'track', 'br'],
  });

  const jsonLd = getArticleSchema(post, slug);

  const layoutHtml = `
    <!doctype html>
    <html amp lang="en">
      <head>
        <meta charset="utf-8">
        <script async src="https://cdn.ampproject.org/v0.js"></script>
        <title>${post.title}</title>
        <link rel="canonical" href="${process.env.HOST}/blog/${slug}/">
        <meta name="viewport" content="width=device-width,minimum-scale=1,initial-scale=1">
        <style amp-boilerplate>body{-webkit-animation:-amp-start 8s steps(1,end) 0s 1 normal both;-moz-animation:-amp-start 8s steps(1,end) 0s 1 normal both;-ms-animation:-amp-start 8s steps(1,end) 0s 1 normal both;animation:-amp-start 8s steps(1,end) 0s 1 normal both}@-webkit-keyframes -amp-start{from{visibility:hidden}to{visibility:visible}}@-moz-keyframes -amp-start{from{visibility:hidden}to{visibility:visible}}@-ms-keyframes -amp-start{from{visibility:hidden}to{visibility:visible}}@-o-keyframes -amp-start{from{visibility:hidden}to{visibility:visible}}@keyframes -amp-start{from{visibility:hidden}to{visibility:visible}}</style><noscript><style amp-boilerplate>body{-webkit-animation:none;-moz-animation:none;-ms-animation:none;animation:none}</style></noscript>
        <meta property="og:title" content="${post.title}">
        <meta name="twitter:title" content="${post.title}">

        <meta name="description" content="${post.excerpt}">
        <meta property="og:description" content="${post.excerpt}">
        <meta name="twitter:description" content="${post.excerpt}">

        <meta property="og:site_name" content="Blog">
        <meta property="og:locale" content="en_US">
        <meta property="og:type" content="article">

        <meta property="og:url" content="${process.env.HOST}/blog/${slug}">
        <meta name="twitter:url" content="${process.env.HOST}/blog/${slug}">

        <meta property="og:image" content="${
          process.env.HOST
        }/blog/${slug}/og.png">
        <meta name="twitter:image" content="${
          process.env.HOST
        }/blog/${slug}/og.png">

        <meta name="twitter:label1" content="Written by">
        <meta name="twitter:data1" content="Dzmitry Kozhukh">

        <meta name="twitter:label2" content="Filed under">
        <meta name="twitter:data2" content="${post.tags.join(',')}">

        <meta property="article:published_time" content="${post.date}">

        ${post.tags
          .map((tag) => `<meta property="article:tag" content="${tag}">`)
          .join('')}

        <meta name="twitter:card" content="summary_large_image">

        <link
          rel="apple-touch-icon"
          sizes="180x180"
          href="/apple-touch-icon.png"
        />
        <link
          rel="icon"
          type="image/png"
          sizes="32x32"
          href="/favicon-32x32.png"
        />
        <link
          rel="icon"
          type="image/png"
          sizes="16x16"
          href="/favicon-16x16.png"
        />
        <style amp-custom>
          <!-- some custom styles here -->
        </style>
      </head>
      <body>
        <script type="application/ld+json">${JSON.stringify(jsonLd)}</script>
        <header class="page-header">
          <a href="/">
            <amp-img class="site-icon" src="/apple-touch-icon.png" width="50" height="50" layout="fixed" alt="Dzmitry Kozhukh icon"></amp-img>
          </a>
        </header>
        <main class="content" role="main">
          <article class="post">
              <header class="post-header">
                  <h1 class="post-title">${post.title}</h1>
                  <section class="post-meta">
                      Dzmitry Kozhukh -
                      <time class="post-date" datetime="${post.date}">${format(parseISO(post?.date), 'MMM dd, yyyy')}</time>
                  </section>
              </header>

              <figure class="post-image">
                  <amp-img src="${post.cover.filePath.replace('../public', '')}" width="600" height="340" layout="responsive" alt="${post.title} post cover image"></amp-img>
              </figure>

              <section class="post-content">
                  ${cleanHtml}
              </section>
          </article>
        </main>
        <footer class="page-footer">
          <a href="/">
            <amp-img class="site-icon" src="/apple-touch-icon.png" width="50" height="50" layout="fixed" alt="Dzmitry Kozhukh icon"></amp-img>
          </a>
          <h3>Dzmitry Kozhukh | Blog</h3>
          <p>Frontend insights</p>
          <p><a href="/blog">Read more posts →</a></p>
        </footer>
      </body>
    </html>
  `;

  return new Response(layoutHtml, { headers: { 'content-type': 'text/html' } });
}
Steps:
- Making a route
GETfor/amp(path:app/blog/[slug]/amp.html/route.tsx) with response oftext/htmlcontent type. - Picking a base amp html layout and have it as a string. Initial AMP HTML can be found here.
- Adding needed meta tags and canonical url that linked to the original page.
- Using Contentlayer get
ReactComponentfor content rendering. - Rendering it to string via react-dom/server
renderToStringmethod. - By using Amperize convert the HTML to AMP like HTML.
- Cleaning the HTML via sanitize-html.
- Rendering it inside prepared HTML layout string.
Click here or add /amp to the current blog post url to open AMP version of this particular blog post.
It works well, but now we need to establish a connection between our main page and the AMP page, ensuring that Google recognizes the presence of an alternative version of the page.
According to the AMP docs we have to add the following to the non-AMP page:
<link rel="amphtml" href="https://www.example.com/url/to/amp/document.html">And this to the AMP page:
<link rel="canonical" href="https://www.example.com/url/to/full/document.html">In Next.js 13, you can utilize either Static metadata or Dynamic metadata (using generateMetadata) to add metadata to the head of the page. However, currently, there is no direct method available to add a link with the rel="amphtml" attribute.
Conclusion: Next.js 13 does not have built-in support for AMP at this time. However, it is still possible to find workarounds and implement AMP functionality. Nonetheless, the inability to establish a connection between the canonical page and the AMP page is indeed a significant limitation and can be perceived as a notable drawback.
Creating a custom 404 page
In Next.js 13, a new file convention has been introduced to enable the addition of a globally customized 404 page. You have to put not-found.tsx to the app folder.
Unforunately it doesn’t work at all for static export. At build time the out folder still contains a standart Next.js 404.html page.
At the time of writing this, the entire website still utilizes the default 404 page 🤷♂️.
Another problem with custom 404 page is adding metadata to it. Currently it doesn’t support adding metadata via generateMetadata as well as <title> tag.
Conclusion: Works well in dev mode but generates the wrong page at build time. There is no way to add metadata.
Conclusion
It so happened that I began my journey with Next.js starting from version 13, and I selected this technology for building my static website publication. I’m genuinely fond of the new conventions, the app router, and the server React components introduced by the Next.js team. I appreciate the direction in which React is evolving with server-side capabilities. In my opinion, although Next.js 13 is not yet fully prepared for production usage in the realm of static sites, I believe it will demonstrate its maturity in the near future.