
12 min read
How to build a static lightweight MDX blog with Astro and Tailwind CSS: Step-by-step guide
A full, step-by-step guide for developers seeking to implement a portfolio or blog publication with Astro.
After implementing my portfolio and blog in Next.js, I realized that Next.js may not be the most suitable choice for static site rendering, especially for content-driven websites (Why I migrated my blog publication from Next.js to Astro). My primary goal was to create a clean, lightweight website with zero JavaScript by default. Before starting with Astro, I highly recommend reading the main concepts of Astro.
Disclaimer
This article assumes you have programming skills, and it won’t cover the basics such as how to install Node.js, etc.
Step 1: Create Astro project
npm create astro@latest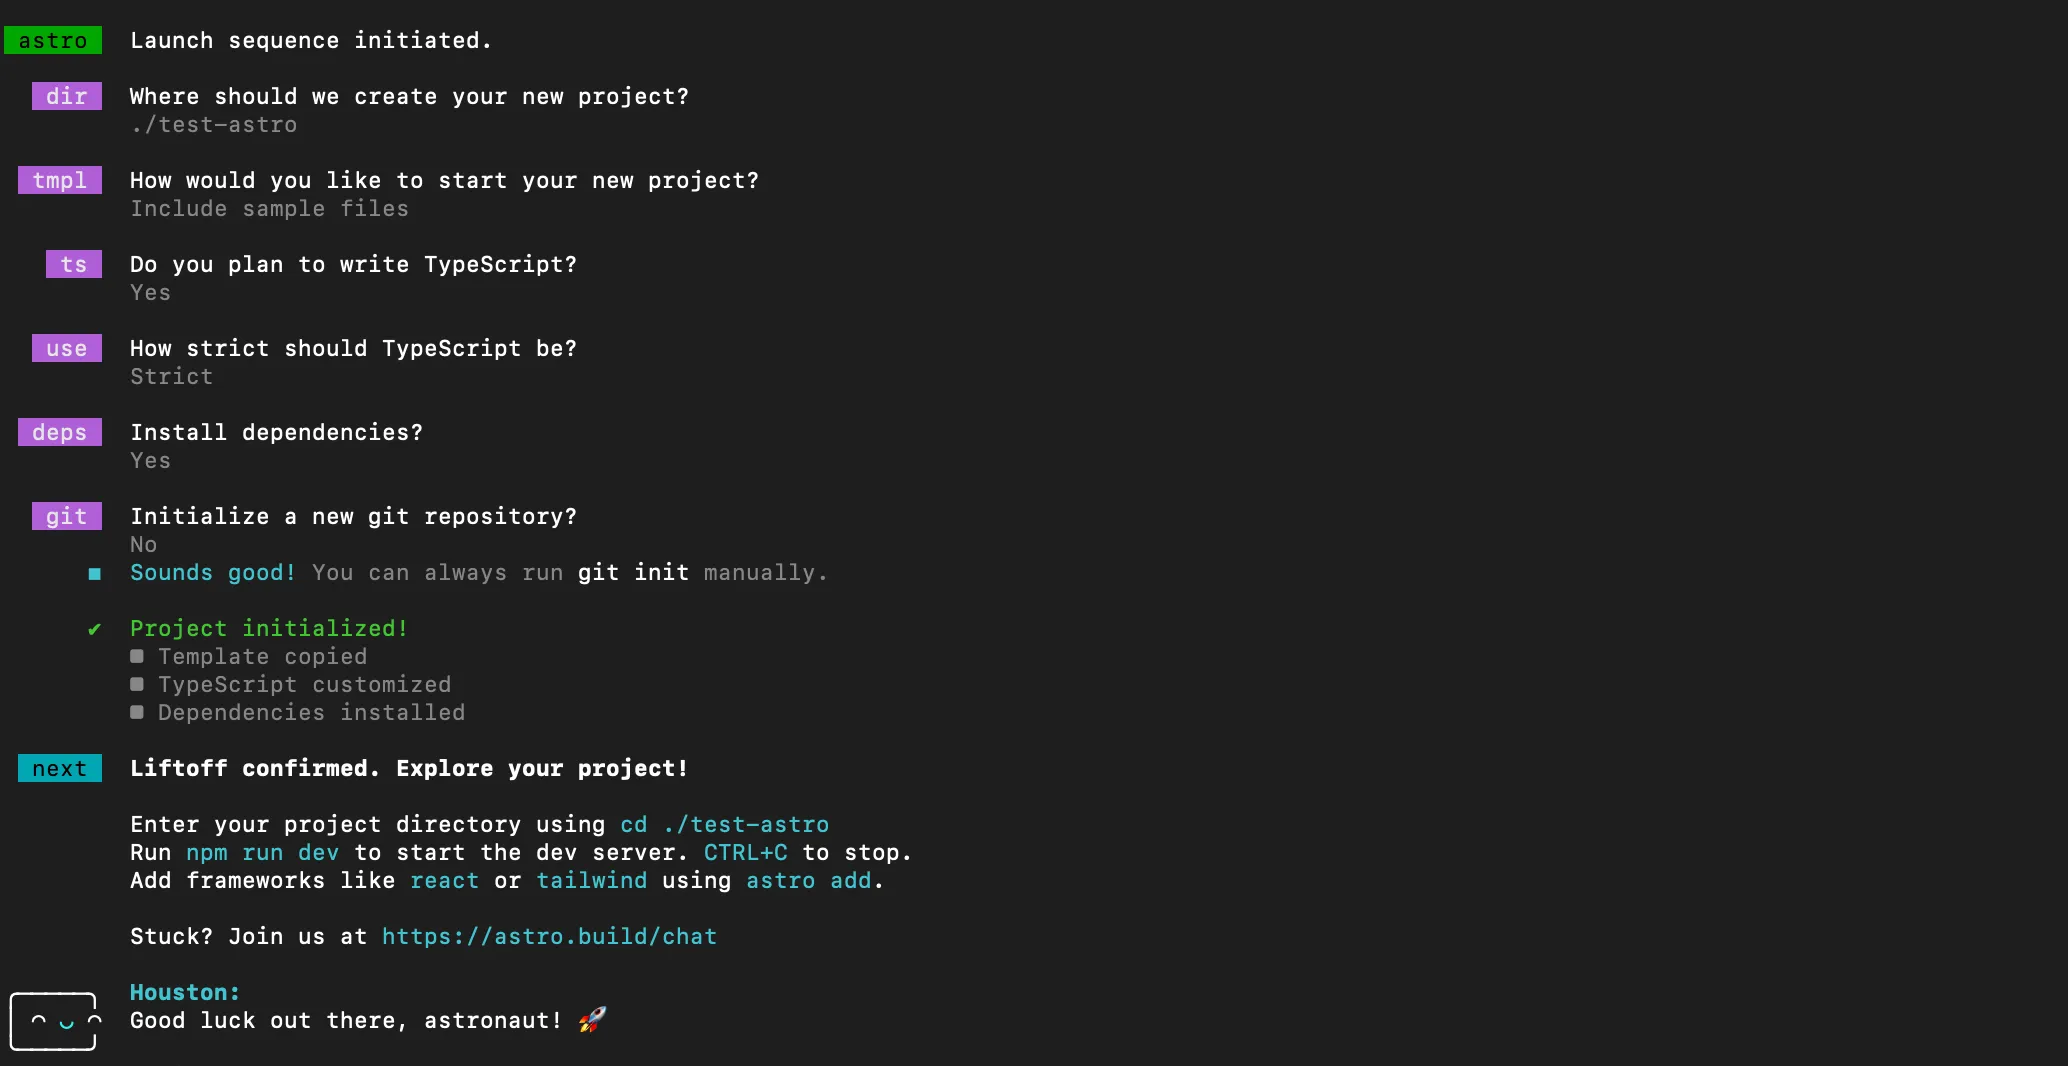
then run dev server:
npm run devStep 2: Add Tailwind CSS
Run the following command inside your project directory:
npx astro add tailwindThis will add Tailwing to your project and will generate a minimal ./tailwind.config.mjs file.
Let’s also install and configure @tailwindcss/typography (we will need it for our blog posts typography styles).
npm install -D @tailwindcss/typography// tailwind.config.mjs
/** @type {import('tailwindcss').Config} */
export default {
theme: {
// ...
},
plugins: [
require('@tailwindcss/typography'),
// ^^^
],
}Let’s make sure Tailwind works. Go to src/pages/index.astro remove everything and add this code:
---
import Layout from '../layouts/Layout.astro';
---

<Layout title="Welcome to Astro.">
  <main class="text-red-500">HELLO WORLD</main>
</Layout>
As soon as we see the red text HELLO WORLD - Tailwind successfuly added.
Step 3: Add @astro/mdx
npx astro add mdxAfter adding mdx to our project let’s render a test markdown page. But before that we need to configure Content Collections
Step 4: Configuring Astro Content Collections
A content collection is any top-level directory inside the reserved src/content project directory, such as
src/content/newsletterandsrc/content/authors. Only content collections are allowed inside thesrc/contentdirectory. This directory cannot be used for anything else.
Let’s start from configuring content collection (in our case it will be a blog) by creating blog folder inside content directory.
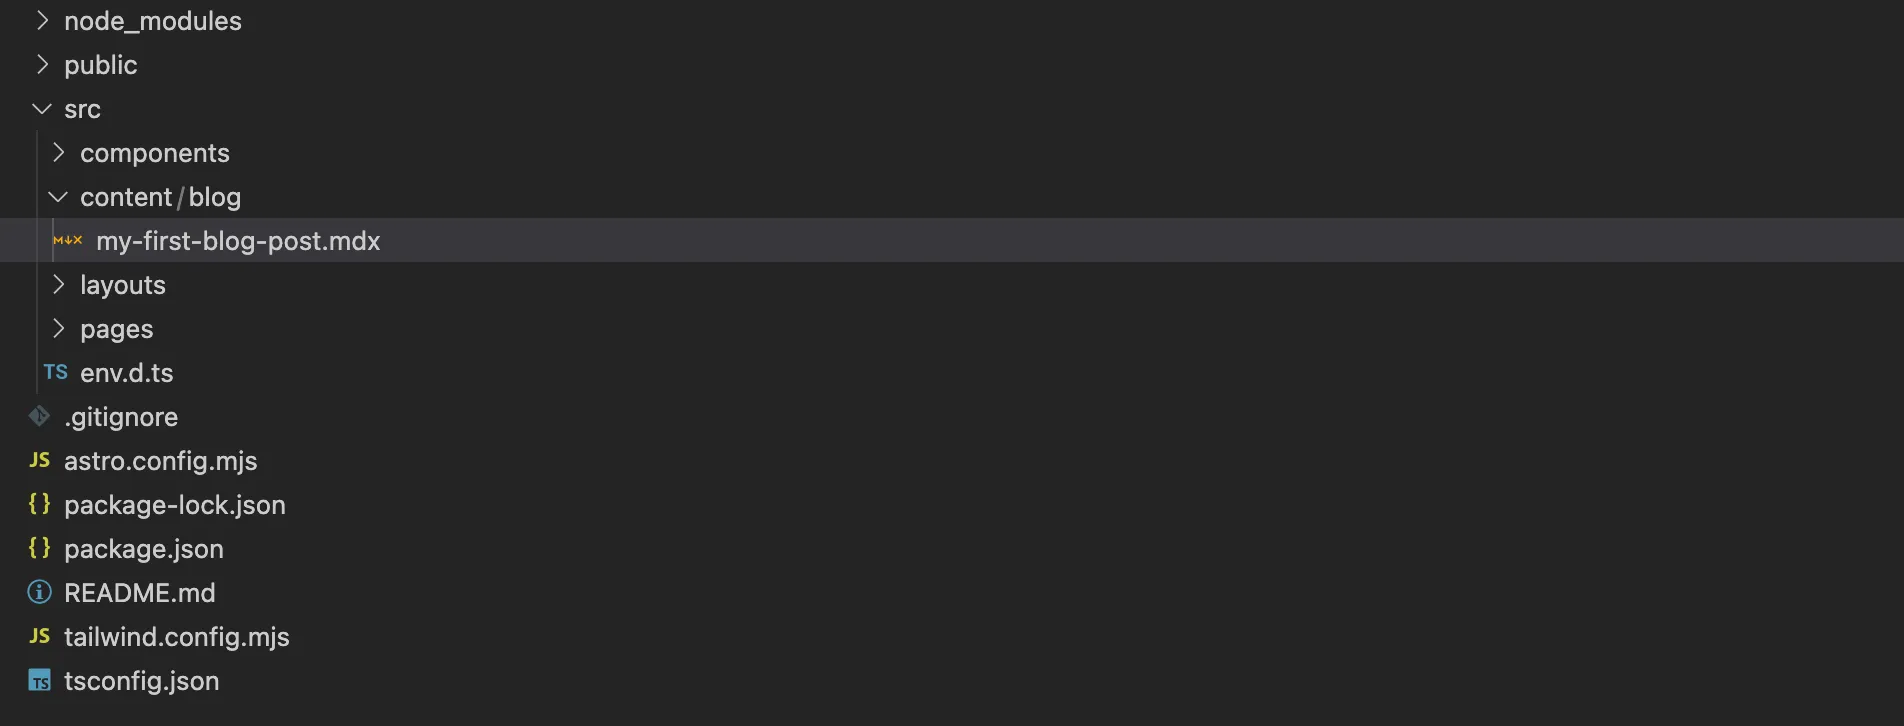
Then define a Collection by adding a src/content/config.ts file.
The
src/content/config.tsfile is optional. However, choosing not to define your collections will disable some of their best features like frontmatter schema validation or automatic TypeScript typings.
// src/content/config.ts

import { defineCollection, z } from 'astro:content';

const postsCollection = defineCollection({
  type: 'content',
  schema: ({ image }) =>
   // using zod to define type-safe frontmatter of our mdx files
   // astro will generate types definitions for our project so we can use them in templates
   // also it will check every newly created frontmatter in the content/blog directory
    z.object({
      title: z.string(),
      tags: z.array(z.string()),
      cover: image(),
      date: z.coerce.date(),
      excerpt: z.string(),
    }),
});

// This key should match your collection directory name in "src/content"
export const collections = {
  blog: postsCollection,
};
To generate types we need to re-run our dev server
npm run devWe are done with configuring Astro Collections let’s move forward and switch to templates creation where we can query and render our content.
Step 5: Rendering our first blog post
Let’s add some content to our my-first-blog-post.mdx file.
---
title: "How to build a static lightweight MDX blog with Astro and Tailwind CSS: Step-by-step guide"
date: 2024-02-02
excerpt: A full, step-by-step guide for developers seeking to implement a portfolio or blog publication with Astro.
tags: [astro]
cover: ./astro-tw.png
---

Hey! My first blog post is here.
Astro uses file paths as routes so to render our first page as http://localhost/blog/my-first-blog-post we need src/pages/blog/[slug].astro file. This file will be our template where we will query our content and apply styles.
---
// src/pages/blog/[slug].astro
import { getCollection } from 'astro:content';
import { Image } from 'astro:assets';
import type { CollectionEntry } from 'astro:content';
import Layout from '../../layouts/Layout.astro';

interface Props {
  post: CollectionEntry<'blog'>;
}

export async function getStaticPaths() {
  const blogPosts = await getCollection('blog');
  return blogPosts.map((post) => ({
    params: { slug: post.slug },
    props: { post },
  }));
}
const { post } = Astro.props;
const { Content } = await post.render();
---

<Layout title="test-post">
  <div>
    <article>
      <Image
        src={post.data.cover}
        alt={post.data.title}
        class="object-cover object-center !m-0 aspect-square block"
        width={600}
        height={600}
      />
      <h1 class="md:!text-5xl md:!leading-[1.2]">{post.data.title}</h1>
      <p class="lead">{post.data.excerpt}</p>
      <div>
        <Content />
      </div>
    </article>
  </div>
</Layout>
By visiting http://localhost:4322/blog/my-first-blog-post we can see our first post.
Step 6: Rendering a list of blog posts
Let’s assume our blog posts will be on the main page of our publication. So let’s add some code to the src/pages/index.astro:
---
import { getCollection } from 'astro:content';
import Layout from '../layouts/Layout.astro';

const allPosts = await getCollection('blog');

---

<Layout title="Welcome to Astro.">
  <main>
    {allPosts.map((post) => <a href={'/blog/' +post.slug}>{post.data.title}</a>)}
  </main>
</Layout>
By visiting http://localhost:4322/ we can see our list of posts which are clickable.
Step 7: Design and Typography
In this tutorial I won’t cover the design aspects by using Tailwind CSS. But let’s see how easy it is to implement the typography styles with @tailwindcss/typography:
npm install -D @tailwindcss/typography/** @type {import('tailwindcss').Config} */
export default {
theme: {
// ...
},
plugins: [
require('@tailwindcss/typography'),
// ...
],
}Now we can just add a class prose to our content for it to look just nice:
<Layout title="test-post">
  <div>
    <article class="prose">
      <Image
        src={post.data.cover}
        alt={post.data.title}
        class="object-cover object-center !m-0 aspect-square block"
        width={600}
        height={600}
      />
      <h1 class="md:!text-5xl md:!leading-[1.2]">{post.data.title}</h1>
      <p class="lead">{post.data.excerpt}</p>
      <div>
        <Content />
      </div>
    </article>
  </div>
</Layout>
Step 8: Configuring MDX add-ons
While converting our MDX files to HTML we might need some features like code highlighting or headings with id.
@astrojs/mdx allows us to use rehype plugins inside to achieve this goal.
npm i rehype-pretty-code rehype-slugHere is an example of how to add code highlighting and slugify headings:
import { defineConfig } from 'astro/config';
import tailwind from '@astrojs/tailwind';
import mdx from '@astrojs/mdx';
import rehypePrettyCode from 'rehype-pretty-code';
import rehypeSlug from 'rehype-slug';

// https://astro.build/config
export default defineConfig({
  site: 'https://www.kozhuhds.com',
  integrations: [
    tailwind(),
    mdx({
      syntaxHighlight: false,
      rehypePlugins: [
        /**
         * Adds ids to headings
         */
        rehypeSlug,
        [
          /**
           * Enhances code blocks with syntax highlighting, line numbers,
           * titles, and allows highlighting specific lines and words
           */

          rehypePrettyCode,
          {
            theme: 'github-dark',
          },
        ],
      ],
    }),
  ],
});
Now you will have ids in the headings and ability to write code snippets in your MDX files.
Step 9: Metadata
The custom Metadata component with meta tags example and generating og:image via @vercel/og available in the article: Generating static Open Graph (OG) images in Astro using @vercel/og
Step 10: Structured data
Structured data is really important peace of our publication for search engines to understand the content better.
Let’s start from installing schema types:
npm i schema-dtsI use a separate file for storing structured data pieces for re-using:
// structuredData.ts
import { type Article, type Person, type WebSite, type WithContext } from 'schema-dts';
import avatar from '../public/kd.png';
import type { CollectionEntry } from 'astro:content';

export const blogWebsite: WithContext<WebSite> = {
  '@context': 'https://schema.org',
  '@type': 'WebSite',
  url: `${import.meta.env.SITE}/blog/`,
  name: 'Dzmitry Kozhukh blog',
  description: 'Frontend insights',
  inLanguage: 'en_US',
};

export const mainWebsite: WithContext<WebSite> = {
  '@context': 'https://schema.org',
  '@type': 'WebSite',
  url: import.meta.env.SITE,
  name: 'Dzmitry Kozhukh - Personal page',
  description: "Dzmitry Kozhukh's contact page, portfolio and blog",
  inLanguage: 'en_US',
};

export const personSchema: WithContext<Person> = {
  '@context': 'https://schema.org',
  '@type': 'Person',
  name: 'Dzmitry Kozhukh',
  url: 'https://kozhuhds.com',
  image: `${import.meta.env.SITE}${avatar.src}`,
  sameAs: [
    'https://www.facebook.com/kozhuhds',
    'https://www.instagram.com/kozhuhds/',
    'https://www.linkedin.com/in/kozhuhds/',
  ],
  jobTitle: 'Front-end developer',
  worksFor: {
    '@type': 'Organization',
    name: 'Grafana',
    url: 'https://grafana.com',
  },
};

export function getArticleSchema(post: CollectionEntry<'blog'>) {
  const articleStructuredData: WithContext<Article> = {
    '@context': 'https://schema.org',
    '@type': 'Article',
    headline: post.data.title,
    url: `${import.meta.env.SITE}/blog/${post.slug}/`,
    image: {
      '@type': 'ImageObject',
      url: `${import.meta.env.SITE}${post.data.cover.src}/`,
    },
    description: post.data.excerpt,
    datePublished: post.data.date.toString(),
    publisher: {
      '@type': 'Person',
      name: 'Dzmitry Kozhukh',
      url: import.meta.env.SITE,
      image: import.meta.env.SITE + avatar.src,
    },
    author: {
      '@type': 'Person',
      name: 'Dzmitry Kozhukh',
      url: import.meta.env.SITE,
      image: import.meta.env.SITE + avatar.src,
    },
  };
  return articleStructuredData;
}
Now let’s return to our template for a blog post (src/pages/blog/[slug].astro):
---
// src/pages/blog/[slug].astro
import { getCollection } from 'astro:content';
import { Image } from 'astro:assets';
import type { CollectionEntry } from 'astro:content';
import Layout from '../../layouts/Layout.astro';
import { getArticleSchema } from '../../structuredData';
import { blogWebsite } from '../../structuredData';

interface Props {
  post: CollectionEntry<'blog'>;
}

const articleStructuredData = getArticleSchema(post);

const breadcrumbsStructuredData = {
  '@context': 'https://schema.org',
  '@type': 'BreadcrumbList',
  itemListElement: [
    {
      '@type': 'ListItem',
      position: 1,
      name: 'Blog',
      item: `${import.meta.env.SITE}/blog/`,
    },
    {
      '@type': 'ListItem',
      position: 2,
      name: post.data.title,
      item: `${import.meta.env.SITE}/blog/${post.slug}/`,
    },
  ],
};

const jsonLd = {
  '@context': 'https://schema.org',
  '@graph': [articleStructuredData, breadcrumbsStructuredData, blogWebsite],
};

...
---

<Layout title="test-post">
  <script type="application/ld+json" set:html={JSON.stringify(jsonLd)} />
  ...
</Layout>
Step 11: Sitemap
Adding a sitemap with Astro is just a single command:
npx astro add sitemapMore details about configuring the sitemap is here.
Step 12: Custom 404 page
// pages/404.astro
---
import Layout from '../layouts/Layout.astro';

const title = 'Frontend Blog - Not Found';
---

<Layout title={title}>
  <main>404 not found</main>
</Layout>
Custom 404 page can be useful when you want to render some recent or random blog posts so user can navigate from here.
Step 13: Build
Let’s build our publication and see how it looks file-wise.
npm run buildStep: 14: Deploying our publication
It’s up to you which tool to use for serving your static publication. I use vercel for my personal website. More details in the video.